
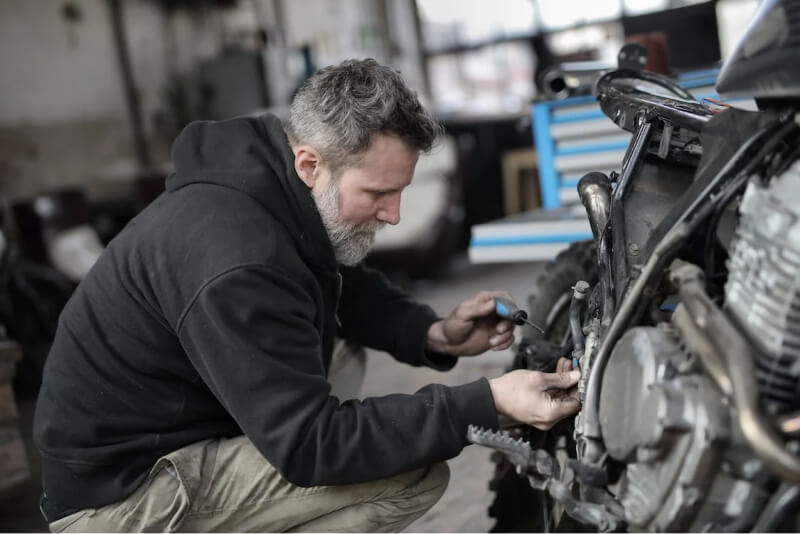
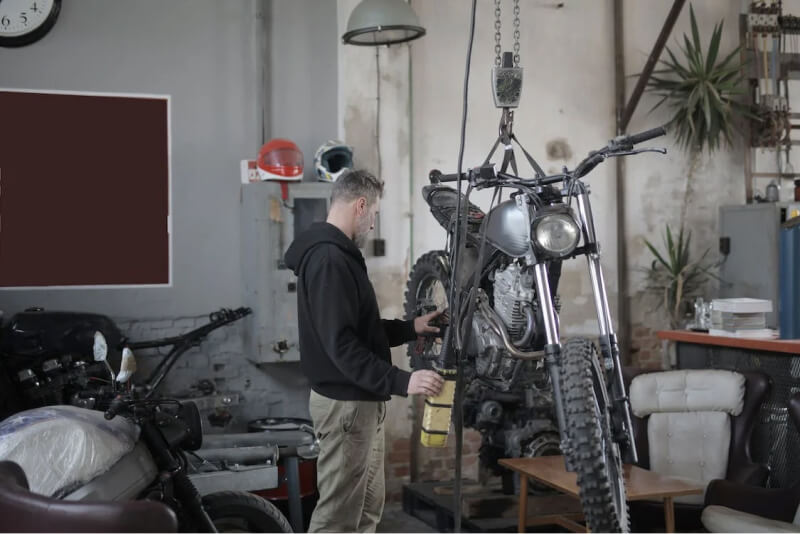
If you’re a motorcycle rider, you know that there’s nothing quite like the feeling of cruising down the open road, wind in your face and the rumble of the engine beneath you. But as with any vehicle, regular maintenance is key to keeping your ride in top shape. Not only will it keep you safe, but it can also save you money in the long run by catching issues before they become costly repairs. Here are five essential motorcycle maintenance tasks every rider should know.
First, keeping your tires in good condition is critical for both safety and performance. Check your tire pressure regularly and make sure your tires are properly inflated. Also, routinely inspect your tires for cracks, punctures, or other damage, and replace them if necessary.
Second, changing your oil is another important task. Dirty oil can cause engine damage and reduces your bike’s performance. Check your owner’s manual for recommended oil change intervals and stick to them. Remember to also change the oil filter at the same time.
Inspecting Tires and Wheels
Ensuring that your motorcycle’s tires and wheels are in good condition is crucial for both safety and performance. A damaged or worn tire can result in poor handling, reduced traction, and even accidents. Inspect your tires and wheels regularly to avoid such risks. Here are some essential tire and wheel inspection tasks every rider should know:
1. Check Tire Pressure
Maintaining the right tire pressure is crucial for optimal handling and longevity of your motorcycle’s tires. Low tire pressure can cause excessive wear and tear on the tires, impact fuel efficiency, and compromise handling. On the other hand, high pressure can lead to quicker tire wear, poor handling, and even blowouts.
Make it a habit to check your tire pressure regularly. Most motorcycle tires require a pressure of around 30-35 psi, but this can vary depending on the make and model of your bike. Refer to your owner’s manual for specific recommendations and use a quality tire pressure gauge to measure the pressure.
2. Inspect Tire Tread
The tire tread is the rubber surface that comes into direct contact with the road. It is vital for grip and traction in all weather conditions. Inspect your tire tread regularly to ensure it’s not worn out. The minimum depth for a street motorcycle tire is typically 2/32 of an inch. Anything below this level is a sign that it’s time to replace the tire.
You can use a tread depth gauge or the “penny test” to check the tire tread. Insert a penny into the tread groove with Lincoln’s head facing down. If you can see the top of Lincoln’s head, then your tire tread is too low, and it’s time to replace the tire.
3. Check Wheel Alignment
Misaligned wheels can cause a variety of issues, including poor handling, uneven tire wear, and reduced fuel efficiency. Check your wheel alignment occasionally to ensure everything is in order. You can do this visually by inspecting the alignment marks on the swingarm or by using tools like a laser-guided wheel alignment tool.
4. Inspect Wheel Bearings
Inspect your wheel bearings for wear and tear regularly. Wheel bearings allow your wheels to spin freely and smoothly while supporting the weight of your motorcycle. Worn or damaged bearings can cause wheel wobbling, uneven tire wear, and even wheel detachment. Look for signs of rust, pitting, or excessive play when inspecting your wheel bearings. Replace worn bearings promptly.
5. Check Wheel Spokes
If your motorcycle has spoke wheels, inspect the spokes for any signs of damage or wear regularly. Damaged or loose spokes can cause wheel wobbling, which can lead to accidents. Use a spoke wrench to check the tightness of the spokes. Also, check for any broken or bent spokes regularly and replace them if necessary.
Regular inspection of your motorcycle’s tires and wheels can help improve safety, performance, and overall riding experience. Make it a habit to check and maintain these components regularly to avoid accidents and costly repairs.
Checking Fluid Levels and Quality
Checking and maintaining the various fluid levels on a motorcycle is essential to keep it running efficiently and avoid expensive repairs. Here are some of the critical fluid levels to keep track of, along with tips on checking and maintaining them:
Engine Oil
Engine oil lubricates the engine and keeps it running smoothly. Make sure to check your oil level regularly, especially before long rides. Here’s how to check it:
- Make sure your motorcycle is on level ground and the engine is cold.
- Locate the dipstick on your engine and remove it.
- Wipe the dipstick with a clean cloth or paper towel.
- Reinsert the dipstick and remove it again, taking note of the oil level. It should be between the “minimum” and “maximum” marks on the dipstick.
- If the level is low, add oil to bring it back up to the proper level.
Also, don’t forget to change your oil regularly. Check your owner’s manual for the recommended oil change interval.
Coolant
Coolant, also known as antifreeze, is critical to maintaining a safe engine temperature. Here’s how to check your coolant level:
- Locate the coolant reservoir and inspect the level. It should be between the “minimum” and “maximum” marks.
- If it’s low, add the same type of coolant that your motorcycle manufacturer recommends.
Make sure to also check your coolant’s color and quality. If it appears rusty, oily, or has debris floating in it, it’s time to flush and replace the coolant.
Brake Fluid
Brake fluid is responsible for transmitting force from the brake lever or pedal to the braking system. Make sure to check it regularly to ensure that you can stop safely and quickly. Here’s how:
- Locate the brake fluid reservoir and inspect the level. It should be between the “minimum” and “maximum” marks.
- If it’s low, refill it using the same type of brake fluid recommended by the manufacturer.
Also, make sure to check your brake fluid color and quality. If it appears brown or has air bubbles in it, it’s time to replace it.
Replacing Air Filters
Your motorcycle’s air filter is a vital component that ensures the engine receives clean, dust-free air for optimal performance. Over time, the air filter can become clogged with dust, dirt and debris, causing reduced power, poor fuel economy, and even damage to the engine.
Here are the essential steps to replace your motorcycle’s air filter:
- Locate the air filter housing: Typically, the air filter housing is located on top of the engine. You can consult your motorcycle’s owner manual for the exact location.
- Remove the air filter cover: Unscrew or unclip the air filter cover and remove it. Be careful not to damage the cover or the filter itself.
- Remove the old air filter: Gently take out the old air filter. Check its condition to see if it needs replacing. If it’s dirt-clogged, it’s time to replace.
- Clean the air filter housing: With a soft-bristled brush, remove any dirt, debris, or dust inside the air filter housing.
- Install the new air filter: Install the new air filter by carefully sliding it into place, lining it up with the housing.
- Replace the cover: Carefully replace the air filter cover and secure it in place with clips or screws.
- Test the motorcycle: You’re done! Turn on the engine and let it run for a few minutes to ensure proper installation.
It’s important to replace your motorcycle’s air filter at the manufacturer’s recommended intervals. A clogged air filter can reduce your motorcycle’s fuel efficiency and the lifespan of the engine.
Testing Brakes and Lights
As a rider, ensuring that your brakes and lights are in good condition is crucial for your safety on the road. You should perform regular checks to ensure that these components are working properly.
Testing Your Brakes:
- Check the brake pads: The brake pads should have at least 1/8 inch of thickness. If they are worn out, it’s time to replace them.
- Ensure the brake cable is tight: The brake cable should be tight, and there should be no slack in it. If you notice any slack, adjust it accordingly.
- Test the brakes: Go to an open area and test your brakes. Apply the front and rear brakes separately to check their effectiveness. The bike should come to a stop smoothly and immediately. If you notice any issues, take your bike to a mechanic to have it checked.
Testing Your Lights:
- Check the headlight: Ensure that your headlight is working properly by turning it on and off. Also, check the high and low beams.
- Check the taillight and brake light: Have someone watch your bike from behind while you apply the brakes and check the taillight and brake light.
- Check the turn signals: Check the turn signals by turning them on and off, and ensure that they are flashing properly.
Regularly checking your brakes and lights is crucial to your safety as a rider. Don’t neglect these essential components of your motorcycle.
Tightening Nuts and Bolts
Regularly tightening nuts and bolts is a crucial part of motorcycle maintenance that every rider should know. Keeping them secure ensures that your motorcycle runs smoothly and reduces the risk of accidents caused by parts coming loose while riding.
Here are a few simple steps to help you tighten your motorcycle’s nuts and bolts:
- First, gather the necessary tools, including a socket wrench, a torque wrench, and an allen key if necessary.
- Identify the nuts and bolts that need to be tightened, paying particular attention to critical components such as handlebars, brake calipers, and wheels.
- Tighten each nut and bolt in a crosswise pattern, rather than going around in a circle. This will ensure an even distribution of force and prevent any damage to the parts.
- Use the torque wrench to tighten each nut or bolt to the manufacturer’s recommended torque settings. Over-tightening can cause damage, while under-tightening can lead to parts loosening over time.
- Double-check each nut and bolt after tightening to ensure that they are securely fastened.
It’s a good idea to check your motorcycle nuts and bolts before every ride, particularly after long periods of non-use. Make sure you refer to your motorcycle’s user manual for specific tightening instructions as torque settings can vary depending on the make and model.
Keeping your motorcycle in top condition not only ensures a safer ride but also prolongs the lifespan of your motorcycle. By knowing how to tighten nuts and bolts, you’ll be able to perform a critical maintenance task quickly and easily.
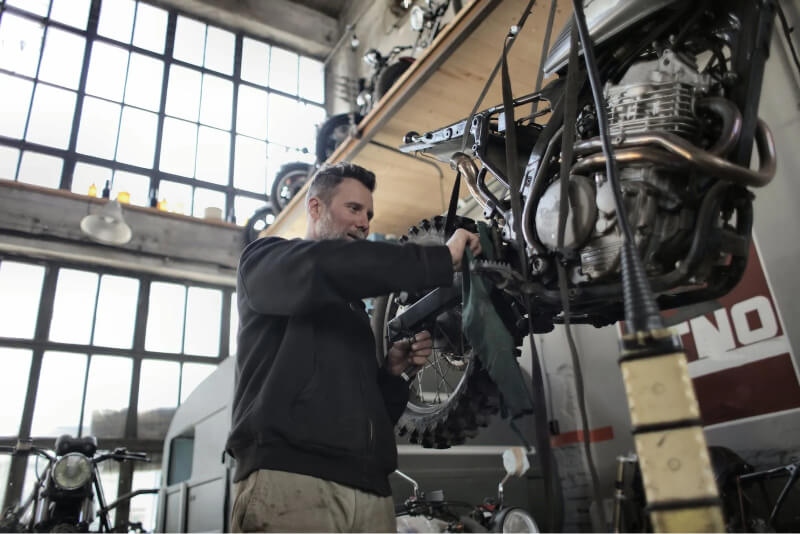
Cleaning and Lubricating Chains
Your motorcycle’s chain is one of its most vital components. Not only does it transfer power from the engine to the rear wheel, but it also helps to ensure a smooth ride by reducing the shock of the drive train. To keep it functioning properly, regular cleaning and lubrication is essential.
Cleaning the Chain
Cleaning the chain is a crucial part of maintenance. Dirt, debris, and other contaminants can build up on the chain over time and cause increased wear and tear. Here are the steps to follow when cleaning your chain:
- Use a chain cleaner/degreaser to loosen the dirt and grime on the chain. Apply it to the chain, making sure to cover all parts of the chain. Be cautious not to let the chain cleaner touch your motorcycle’s painted surface.
- Use a grunge brush or toothbrush to scrub the chain and remove any stubborn dirt.
- Rinse the chain with clean water using a hose or pressure washer. By doing this with force, it will remove any dirt and all of the cleaner.
- Use a lint-free cloth to dry the chain and remove any water droplets from it.
Lubricating the Chain
Once the chain has been cleaned, you need to lubricate it to keep it well-maintained. Lubricating the chain not only reduces wear and tear but also prevents rust and corrosion from setting in. Here are the steps to follow when lubricating your chain:
- Choose a high-quality chain lube specifically designed for motorcycle chains.
- Apply the lube to the inner part of the chain. Be very cautious not to let it spray onto your motorcycle’s wheel or brake disks.
- Rotate the wheel slowly to spread the lube around all parts of the chain.
- Use a lint-free cloth to wipe away any excess lube that has accumulated.
By following these steps, your chain will last longer and provide a smoother ride. It’s important to regularly inspect your chain as well and address issues such as visible wear or misalignment. By taking good care of your chain, you can avoid costly repairs down the line.
Read Also: